Here is my portfolio of work from Art and Design Level 3 at Barnsley College. And some pieces created at home. Feel free to leave comments, like and share.
Wednesday, 15 October 2014
World War 1 Exhibition
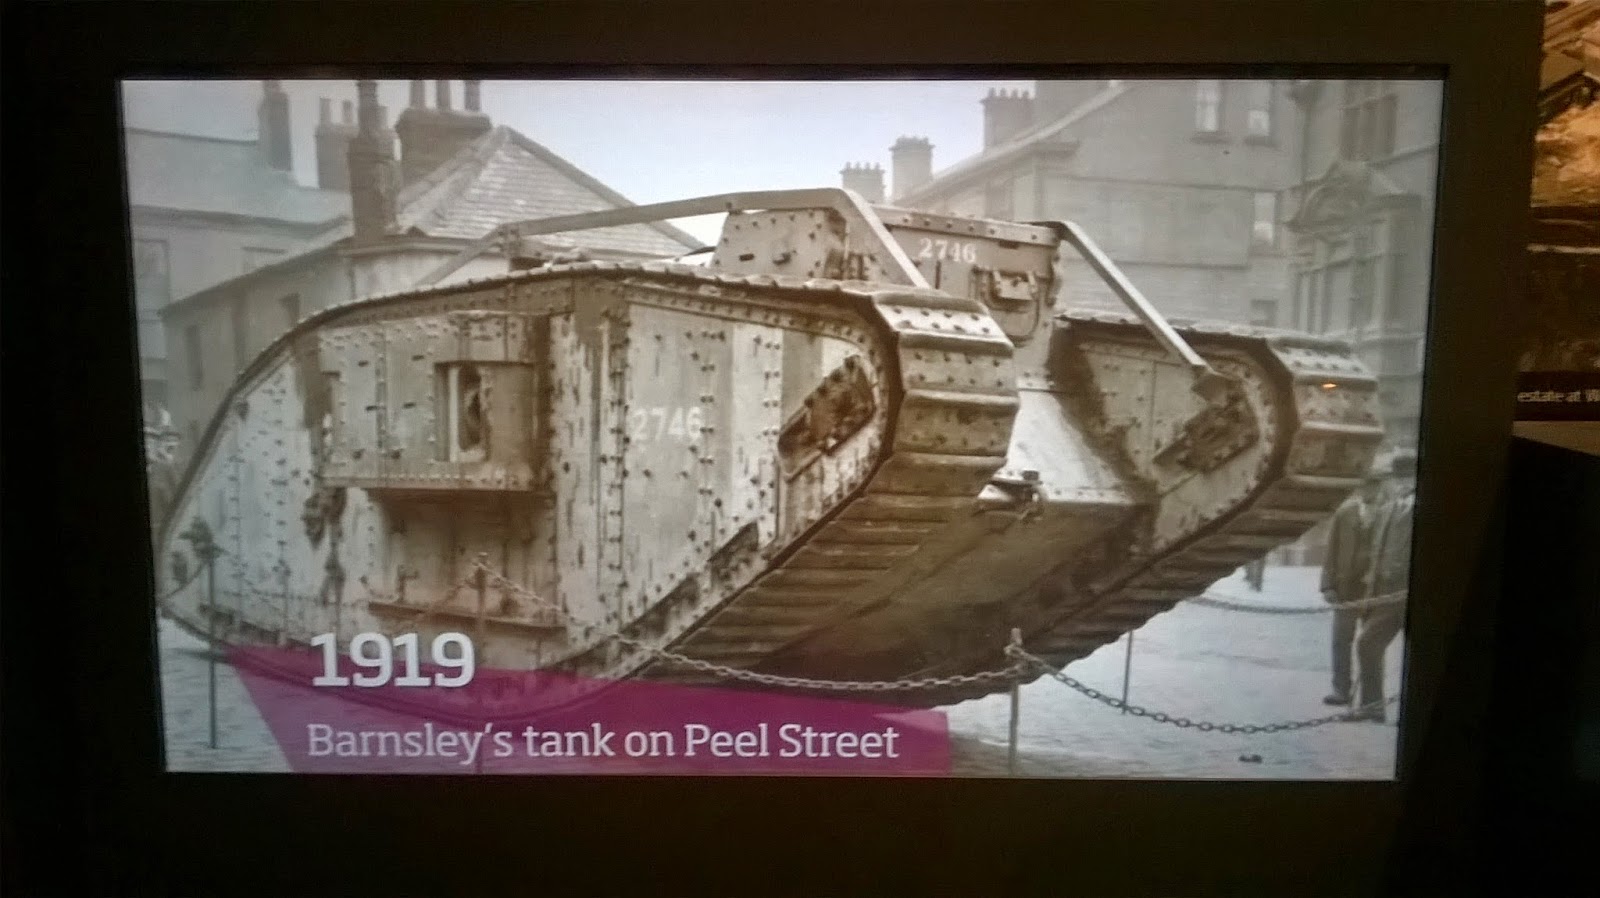
The photos shown below, show items and information based around the era in World War 1. The photos were taken at the Town Hall at the exhibition. There were many fantastic displays, from old kettles, televisions, coins, radios, prams, clothing and so much more. Looking through all these displays made me think and wonder how things were back in that time and how i could cope without the things i have today. On one side of the exhibition, there was a screen showing photographs taken when the first world ward began. It wasn't nice to watch the photographs showing buildings blown up, tanks roaming the streets and men fighting in the war to save our country. But overall, it was a great experience to visit the exhibition and learn all the history taken from the first world war.
Thursday, 9 October 2014
Etching Printing
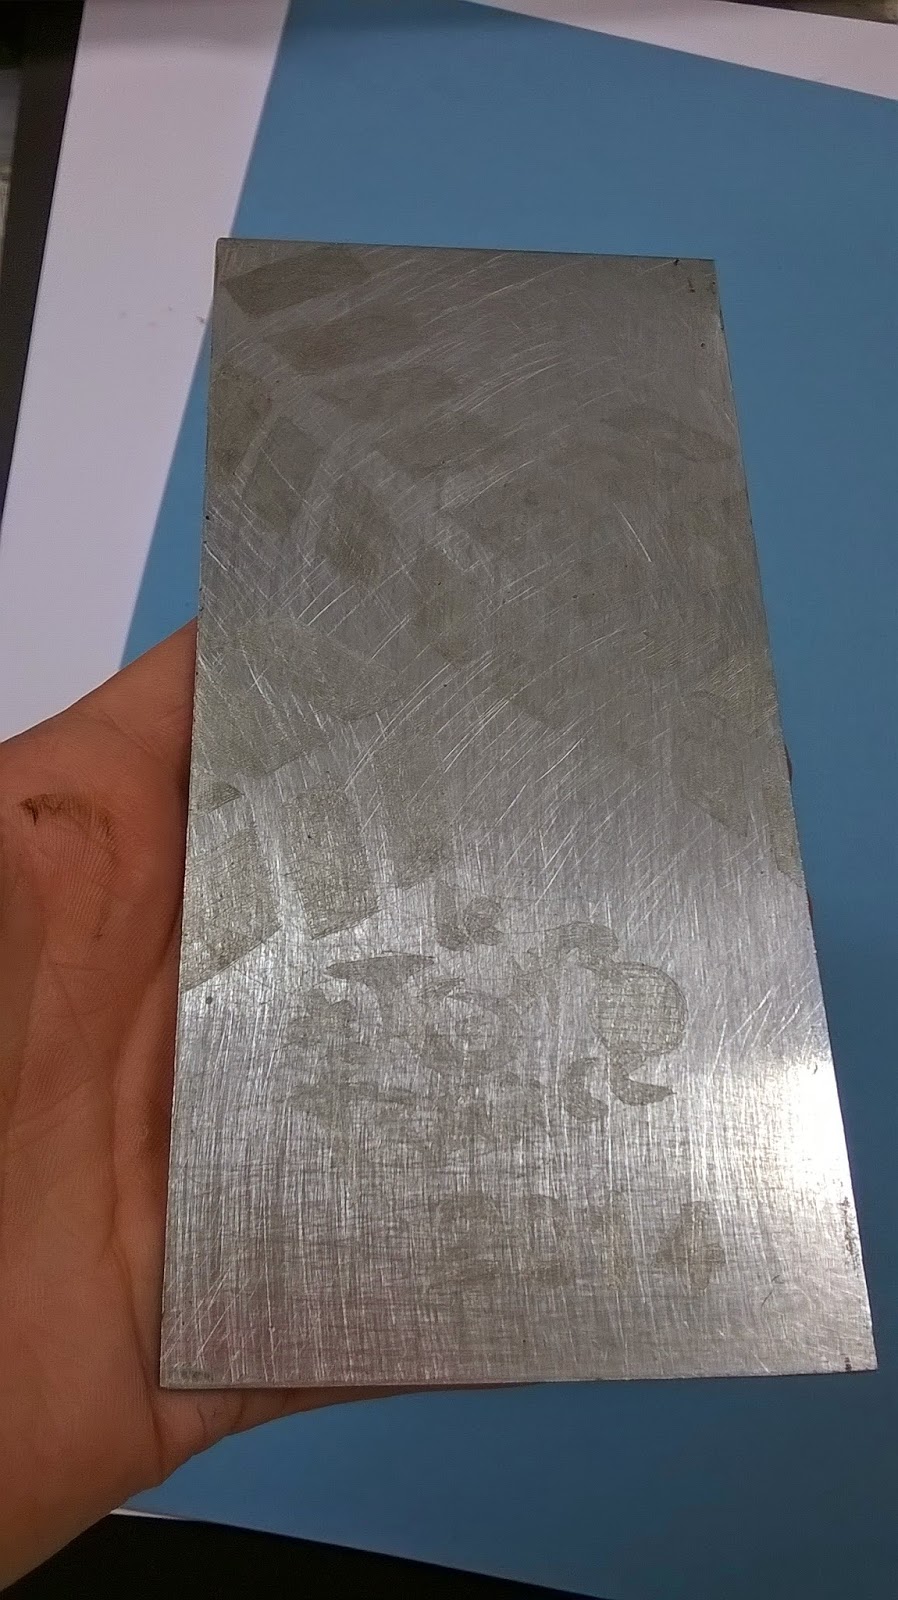
To start an etching print, you must begin with having the correct materials such as; a zinc metal plate, black-hard wax, hot plate (To heat your zinc, metal plate and hot wax.) polish, tracing paper, pencil, steel etching needle and oil-based or either water-based inks. You start by drawing a design onto your tracing paper, then once you have finished your design. You must then heat up the 'Hot Plate.' Which is a plate that heats up your zinc, metal plate. So you can spread the black-hard wax over your plate. To create a coat and which helps the plate, when you later put your plate into acid. Afterwards, you then trace your design onto your zinc, metal plate. By placing the tracing paper over the zinc, metal plate then going over your design again. After that, you then use the steel etching needle and begin to scratch the design you have created on your zinc, metal plate. Once you have scratched into your design, you must then wipe off the black-hard wax with polish. So then your plate will have a nice shine to it. Finally, when you have managed to clean off all the black-hard wax. You are then ready to start printing. By using either water-based or oil-based inks, which you will need gloves and a piny. To help not getting the ink onto your clothing and hands. You can have many colours as you wish onto your etching plate. When you have covered your plate, you need to make sure you have wiped off any useless ink off your plate. So that, when you place your plate onto the roller machine. Your print won't come out correctly, and you will have smudging on your print. Once you have wiped off any useless ink off your plate, you're then ready to place your plate under the roller machine. Before rolling your plate under the machine, you need to place a damp A4 sheet of paper on top of your plate. So the roller machine can create an etching print of your design.
At the beginning, i did find etching quite easy. Because of how simple the method was for creating a etching print. But in my opinion it isn't as easy as you think. Because you had to wait for at least 30 minutes for the hot plate to heat up. Including, the black-hard wax you use to cover your plate. Secondly, you always need to remember to scratch letters backwards onto your plate. Because once you have rolled your plate out, on the roller machine. The letters will come out backwards on your print. Lastly, the acid was very weak and hasn't been changed in a while. So you then had to wait for 20 minutes at least. For the acid to remove the black-hard wax and your design will show up nicely once cleaned. For my first try at etching, i didn't leave my plate in long enough for the acid to remove the black-hard wax. Which also ment that my design wouldn't show up, when rolling out my design. Luckly, for my second try i'd managed to create at least two etching prints. The design i'd chosen was a basic and simple idea. Because with me not created an etching for a long time. Was two bike, tyre tracks going across either side. And the main title 'Le Tour de France 2014' at the bottom.
Below, there are photographs i'd taken of the steps when creating an etching.
Sunday, 5 October 2014
Lino Printing
Lino printing was my favourite printing method. Because Lino is a really thick, rubber material which i find easy to carve and draw onto. This was the first time i have ever created a Lino printing, so many ideas were small and basic. Such as; i decided on a bunting going across the Lino and then the title on the right corner. And for the bottom i decided on drawing the Yorkshire Rose. Once i decided on my drawing ideas for my Lino printing, i was then ready to start carving into my drawings. By using a cutting tool called Baren. I found it quite intresting using the Baren. Carving into the lines of my drawings, was a smooth texture and picked up very easily. Once i finished every outline of my drawings with the Baren. They began to stand out and shown a nice design on my Lino. Finally, i was ready to add water-coloured based ink on my Lino to create some Lino printings. For my first choice of colour, i'd decided to go with a Turquiose colour then put my Lino under the roller machine. My first print didn't come out aswell enough. Because the Yorkshire rose smudged while going through the roller machine. For my second print i'd decided to use the colour black, which looked effective after i'd used Turquiose. Only this time when i place my Lino under the roller machine, my Lino printing came out crickley. At this point i'd had enough, but i'd thought about trying one more time to see if i'd get a better result. So this time, i'd washed my Lino down and then used the colour Green. Results i'd got this time was alot better, especially with the colour Green. In some areas i could have go back over with the Baren. To make my drawings and the outlines deeper for the Lino printing to work. Lastly, i was impressed with myself and on how i'd stayed on task and created a nice piece of Lino printing.
Collagraph Attempt Two
Here is my second attempt at collagraph printing. My first attempt didn't go so well. Because of the colours i'd chosen. For my second attempt, i did the exact same layers for each shape i did. Only this time i'd mananged to create one collagraph print in the colour Blue. Because i wanted to see if i would get the same results like my previous collagraph, when i used a darker colour first. This time when i covered my collagraph in Blue water-based ink, making sure every corver and shape was covered. Next i used some magazine and paper to wipe off any left over ink on my collagraph. I was then ready to move onto the roller machine, which rolls the collagraph onto a piece of paper to create a collagraph print. Finally, once my print finished rolling on the machine. I was really pleased that i'd managed to create a collagraph print, especially you can just make out where the shapes have come through. Even though we were asked to create loads more of collagraph prints. I was happy with the one print i'd created and i didnt have much time left. Because i'd had various other tasks to finish.
Wednesday, 1 October 2014
Collagraph Mistake
After many lessons working hard on my collagraph, making sure there was enough layers on. Also, my collagraph was dry from varnishing it. Futhermore, finished sticking different materials down such as; cardboard, brown paper, black card and cartridge paper. I finally was able to move onto my next step of my collagraph, which was to start printing by using water-based inks. By spreading a colour water-based ink onto my collagraph, making sure every area was covered. Before we started spreading a colour water-based ink, we were asked to try and experiment with two colours. Because our collagegraphs will look more effective. When i tried to add two water coloured-based inks to my collagraph, it didn't go exactly how i thought it would. Because i had to constantly add a big amount of ink onto my collagraph and try to cover ever area, with a small piece of card. Futhermore, the colours i chose was Brown and Black. Because i wanted to have a Brown background and Black outlines showing were i have added extra layers. To give my collagraph a really good effect. Once i added the coloured water-based ink, Brown and managed to cover up all the areas on my collagraph. Next i had to get either newspaper or magazine and wipe down all the ink from the collagraph. So the layers am wanting to have a different colour, doesn't have the previous colour on them and that they're dry. Then, once i thought my collagraph was dry and ready. I rolled out the coloured water-based ink Black and then began to roll the Black, onto the layers i am wanting to colour. Unfortanly, the collagraph i was wanting to create didn't turn out as well. Because the Black coloured water-based ink didnt go onto the layers i was wanting to colour. Instead it went all over my background colour Brown, which made my collagraph very messy and look untidy. I wasn't really happy with the results i got, but i was determined to carry on with my collagraph prints. Once i had my two colours on my collagraph, i was then ready to place my collagraph onto the bench. Which is a machine that turns a huge roll and places alot of weight onto the print, you're wanting to create. Once my print came out from the otherside of the bench, i took out my collagraph but my print was stuck. I tried many times to carefully, release my print but at the end i ended up wripping my print. So i throw away the print and then i wasn't really intrested in collagraph after that. Because of how my print turned out also the colours i used. Lastly, when i returned to the classroom. I took some time to relax after getting annoyed with my results of my collagraph. And began to create another collagraph, to see if i get the same results again.
Subscribe to:
Posts (Atom)